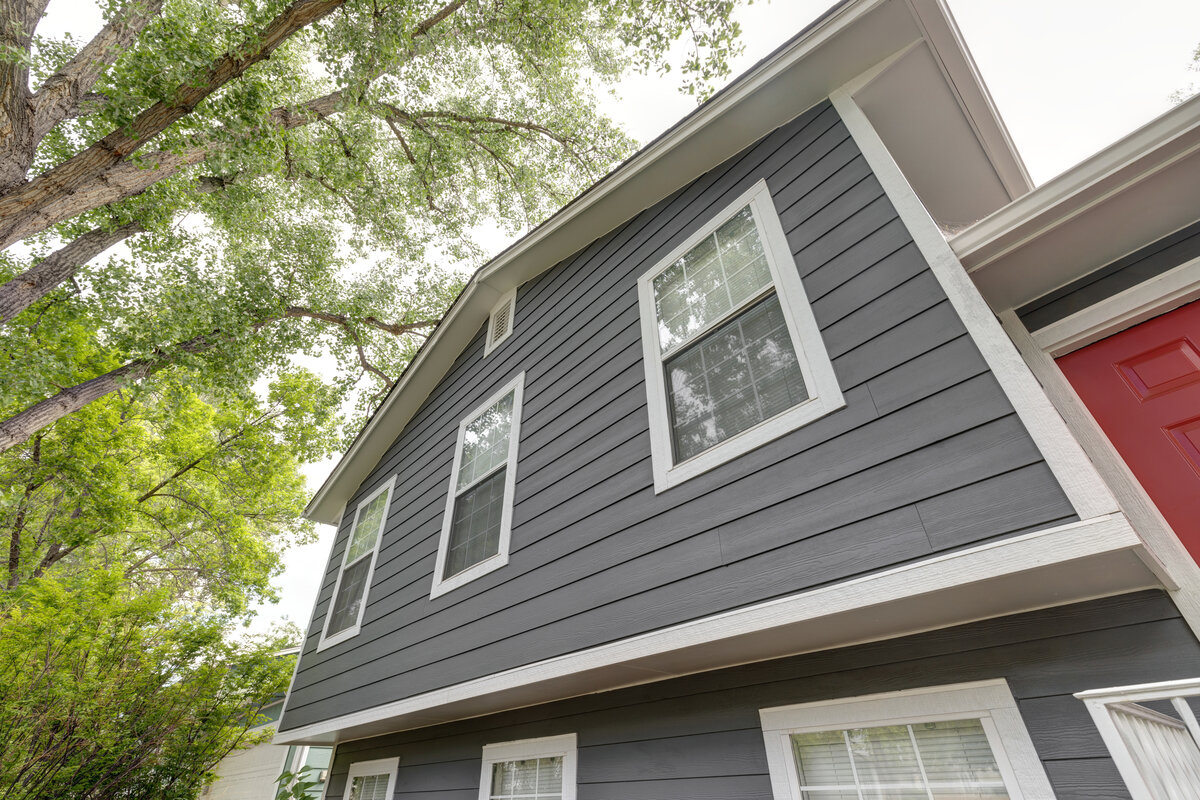
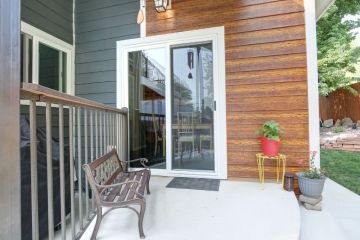
You know that James Hardie fiber cement siding products offer the best protection and beautiful design for your Colorado home. At Bellwether, our sales teams want you to have confidence in the end result—but we want you to understand the James Hardie siding installation process too. When you’re making an investment of time and money into your home, it’s important to understand the siding materials, the installation procedures, and what exactly that investment is getting you.
Luckily, James Hardie provides a great informational guide with step-by-step details, including materials explanations and a review of the installation process. As a James Hardie Elite Preferred Contractor, our teams—from sales to design to installation—have familiarized themselves with this information, which includes best practices and the highest industry standards. Your high-quality materials come with a high-quality installation process so that the design and the function seamlessly go hand-in-hand for a product that lasts a lifetime.
What does the James Hardie Siding installation process look like?
The James Hardie fiber cement siding installation process protects your home from roof to foundation, including water resistant barriers that lap over step flashing and roofing felt, and James Hardie HardieWrap that serves as part of our moisture management system between the wall sheathing and siding.
James Hardie fiber cement siding includes coordinating trim and soffit options so that the siding along your roofline is consistent with the siding planks along your house, and these are installed to wick away moisture with a drip edge and sealed with self-adhering membranes to block moisture from entering beneath the siding.
Along windows and doors, we install water resistant barriers and flashing for moisture control, leaving an 1/8-inc. caulked gap between the siding and the trim pieces. We do not caulk between the siding and the flashing.
As the plank siding progresses up the wall, we install the weather barrier, such as HardieWrap, across the entire surface. The process is begun with a starter strip and a two-inch minimum clearance from the slab. At decking and other solid surfaces, we maintain a 1/4-inch clearance for HardieTrim boards, installed under the cover, with flashing below the trim, which rests on the solid surface. We maintain a minimum of six inches of clearance between the siding and trim and the ground.
Why should I choose Bellwether to install my James Hardie fiber cement siding?
Fiber cement siding is a product we believe in, and we believe the James Hardie installation process to be the best practice in the industry. Because we recognize the benefits of choosing fiber cement siding for Colorado homes, we take the installation process seriously so that it performs at peak expectation.
Elite Preferred James Hardie contractors must adhere to quality standards of conduct and installation to maintain the special distinction. Bellwether will always adhere to the manufacturers’ best practices as the minimum standard for our installation procedures. This includes a guarantee that your fiber cement siding is properly installed with an expertly designed moisture management system. Our expert designs work hand-in-hand with industry standards for the best results from your fiber cement siding.
Why is this installation process important?
When you invest in high-quality materials for your Colorado home exterior, you want to know that your investment will protect your home and last a lifetime. To get the most out of your siding materials, they must be properly installed. By adhering to the James Hardie installation process, our Bellwether design and installation teams guarantee a beautiful home that protects your exterior and interior from fire, pests, and weather elements.


