Installing James Hardie siding is one of the most effective ways to protect a home while boosting its curb appeal. However, even the highest-quality siding can fail to perform if not installed correctly. Improper installation can lead to a range of issues, causing costly damage over time. Let’s explore the five most common installation errors with James Hardie siding to help homeowners avoid mistakes and ensure their siding offers the best possible protection.
Common Installation Errors with James Hardie Siding
There are five key errors we often see with James Hardie siding installations. Improper nailing can cause the siding to loosen or warp, while incorrect flashing installation can lead to moisture damage. Insufficient clearance from the ground or roof promotes rot, and poor joint placement can cause cracks or gaps. Lastly, skipping the weather barrier leaves your home vulnerable to water damage. Let’s address these issues to ensure your siding remains durable and effective.
1. Improper Nailing Technique
One of the most common mistakes we see is improper nailing during installation. James Hardie siding requires nails to be placed correctly and at the right depth to ensure it’s secure and long-lasting. Here’s what often goes wrong:
- Overdriven Nails: When nails are driven too deep, they compromise the strength and integrity of the siding. This error often happens when installers use nail guns with too much pressure.
- Underdriven Nails: Conversely, nails that aren’t driven deep enough can leave the siding loose, causing it to move or even fall off over time.
- Incorrect Spacing: Nails placed too far apart or too close together can weaken the siding’s hold, leading to warping or gaps.
To avoid these issues, ensure that each nail is flush with the surface without going too deep or sticking out.
2. Insufficient Flashing Installation
Flashing is a critical component that helps prevent water infiltration. When flashing is improperly installed or omitted altogether, it can lead to severe water damage over time. Here’s where things typically go wrong:
- Gaps in Flashing: If flashing is not continuous or if there are gaps, water can seep behind the siding and damage your home’s structure.
- Incorrect Placement: Flashing needs to be placed above windows, doors, and any horizontal trim boards. Missing these areas can lead to leaks and rot.
Ensure that flashing is properly installed at every potential water entry point, and you’ll protect your investment in the long run.
3. Inadequate Clearance from Other Surfaces
James Hardie siding requires specific clearance from the ground, roofing, decks, and any adjacent surfaces. Here’s why this step is crucial:
- Ground Clearance: When siding is installed too close to the ground, it’s more likely to absorb moisture, leading to swelling, warping, or rot.
- Roofing and Deck Clearance: Similar issues can occur if the siding is placed too close to roofing or decking. Proper clearance ensures your siding remains dry and protected from moisture.
Always maintain at least a 2-inch clearance from decks, driveways, steps, and roofs, and a 6-inch clearance from the ground to prevent moisture-related damage.
4. Incorrect Joint Placement and Gapping
Another common installation error with James Hardie siding involves improper joint placement and gapping between boards. Here’s what often goes wrong:
- Tight Joints: When boards are installed too closely together, they can expand and crack over time, especially with temperature changes.
- Inconsistent Gapping: Improper gapping can lead to unsightly gaps that not only look bad but can also allow water and pests to penetrate.
For optimal performance, always follow James Hardie’s guidelines for joint spacing. Typically, leaving a small gap for expansion is crucial, and joints should be staggered for a more natural appearance.
5. Skipping the Weather Barrier
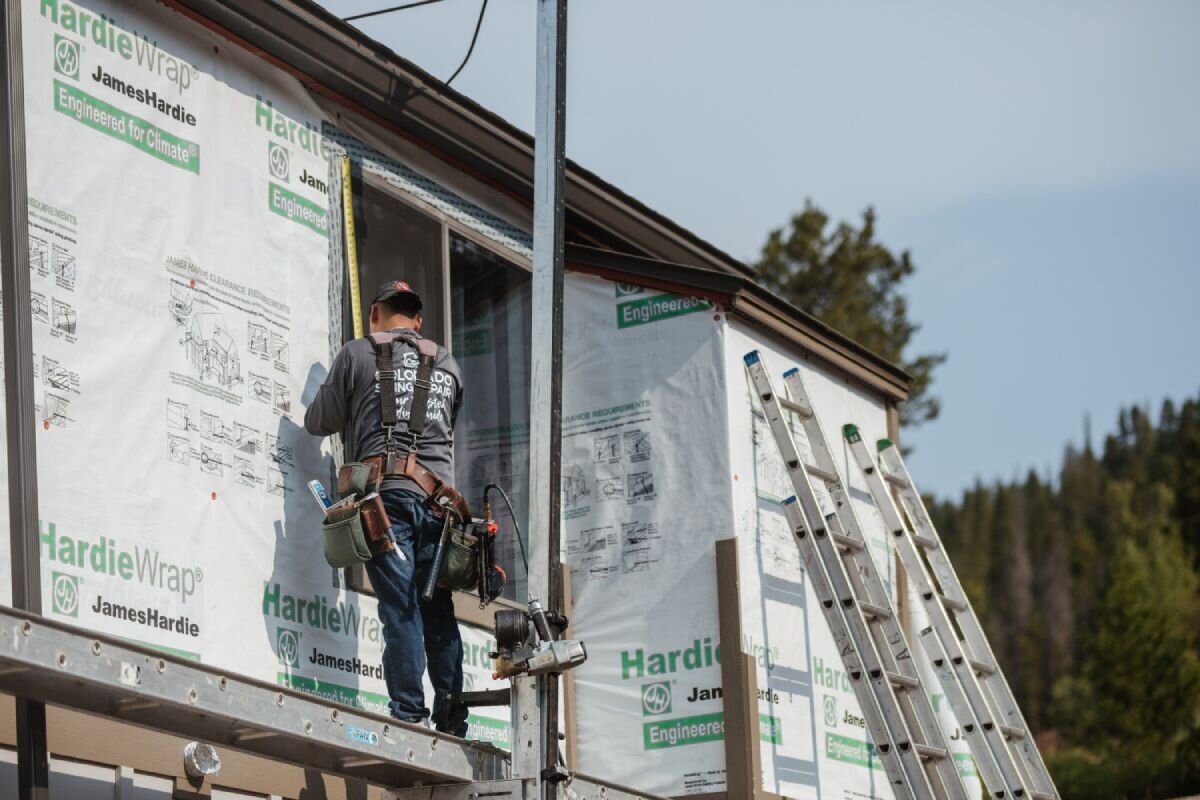
Many DIY installers or inexperienced contractors often overlook installing a weather-resistant barrier behind the siding. This is a critical step that should never be skipped, as it adds an additional layer of protection against moisture. Here’s why it’s essential:
- Moisture Protection: Without a weather barrier, any water that gets behind the siding can damage the underlying structure, leading to mold or rot.
- Energy Efficiency: A weather barrier also enhances your home’s energy efficiency by preventing drafts.
Make sure that a high-quality weather barrier is installed before attaching the James Hardie siding to ensure the best protection for your home.
Why Choose Bellwether for Your James Hardie Siding Installation?
At Bellwether, we pride ourselves on our meticulous installation process. We know how critical it is to get every detail right when it comes to James Hardie siding. Here’s what sets us apart:
- Experienced Team: Our team has years of experience installing James Hardie siding, ensuring each installation is handled with precision.
- Attention to Detail: We follow the manufacturer’s guidelines strictly, so you can be confident your siding will last for years to come.
- Quality Assurance: We use the best materials and tools for every project, ensuring that your siding is installed correctly the first time.
When you choose Bellwether, you’re choosing quality, professionalism, and a team that genuinely cares about protecting your home.
In Summary
James Hardie siding is a fantastic investment for your home, but only if it’s installed correctly. Avoiding these common installation errors with James Hardie siding will help ensure your home remains protected and looks great for years to come.
If you want a flawless installation that stands the test of time, contact us today. We’re here to help you achieve a long-lasting and beautiful finish.


