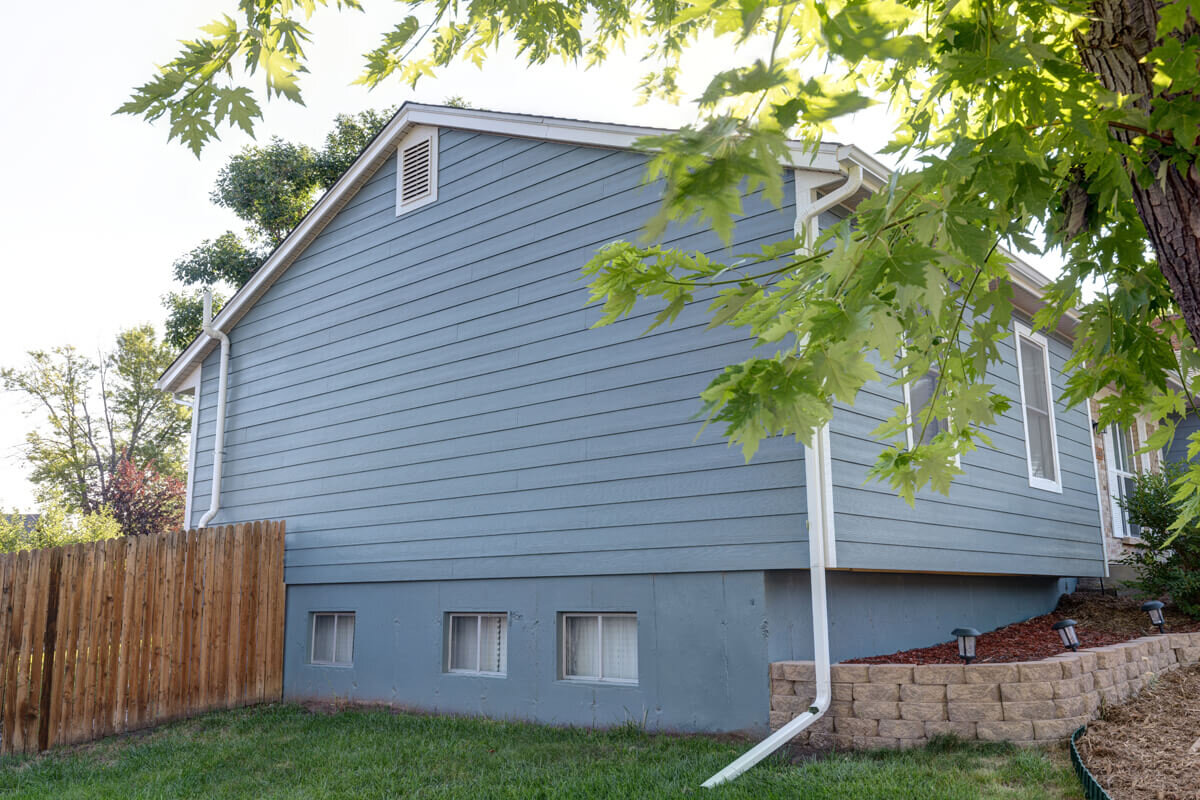
Imagine the siding of your house as a suit of armor. It’s your home’s first defense against the elements, but unlike armor, it’s also crucial for your house’s curb appeal. Over time, this siding can accumulate dirt, mold, and algae, diminishing your home’s appearance and potentially causing damage. That’s why maintaining clean vinyl siding is not just about aesthetics; it’s about longevity.
Why Cleaning Vinyl Siding is Important
Cleaning your vinyl siding is essential for several reasons:
- Aesthetic Appeal: Regular cleaning keeps your home looking attractive.
- Longevity: Removing grime and mildew prevents deterioration, extending the life of your siding.
- Health: Mold and mildew can pose health risks, especially for those with allergies or respiratory conditions.
Tools and Materials You Will Need
- Soft-bristled brush or broom: Avoid using abrasive materials that could damage the vinyl.
- Microfiber cloths: These are gentle on the siding and effective at removing dirt.
- Bucket: For mixing your cleaning solution.
- Garden hose: To rinse off the cleaning solution.
- General-purpose cleaner: Such as dish soap or a commercial vinyl siding cleaner.
- White vinegar: For tackling mold and mildew.
Preparing Your Cleaning Solution
Step 1: Choose the Right Cleaner
Depending on the type of dirt and stains, you might need different cleaning solutions:
- General Dirt and Grime: Mix a simple solution of warm water and dish soap in a bucket. This is gentle yet effective for everyday cleaning.
- Mold and Mildew: Create a solution with 70% water and 30% white vinegar. This mixture is excellent for removing mold and mildew without harming the vinyl.
For tougher stains, consider a commercial vinyl siding cleaner like Wet & Forget or Simple Green, which are formulated specifically for this purpose.
Cleaning Process
Step 2: Apply the Cleaning Solution
Start by applying your cleaning solution to the siding using a soft-bristled brush, broom, or microfiber cloth. It’s crucial to work from the bottom up to avoid streaking. Gently scrub the siding, ensuring you don’t use too much force, which could scratch or damage the vinyl.
Step 3: Rinse Each Section
After scrubbing, immediately rinse off each section with a garden hose. This prevents the cleaning solution from drying on the siding and causing streaks or residue. Make sure your hose has a long reach to cover the higher sections of your house.
Additional Tips for Cleaning Vinyl Siding
Avoiding Damage
- Pressure Washing: While some manufacturers advise against pressure washing, others find it acceptable if done correctly. Use low pressure and avoid spraying upwards to prevent water from getting behind the siding.
- Harsh Chemicals: Avoid cleaners with harsh chemicals like undiluted chlorine bleach, paint thinner, acetone, or nail polish remover, as these can damage the vinyl.
Regular Maintenance
- Routine Cleaning: Regularly wash your siding to prevent buildup of dirt and mildew.
- Inspection: Periodically inspect your siding for any damage or areas that may need special attention.
Common Questions
Can You Use Bleach?
Bleach can be used but must be diluted properly. A mixture of one cup of bleach in a gallon of water can help remove tough stains. Always rinse thoroughly to remove any bleach residue.
What About Stubborn Stains?
For particularly stubborn stains, you might need to use a stronger cleaner or a commercial product designed for vinyl siding. Follow the manufacturer’s instructions carefully to avoid damaging the siding.
In Summary
Vinyl siding is a fantastic, low-maintenance option for your home’s exterior, but it does require some care to keep it looking its best. By following this guide on how to clean vinyl siding, you can ensure your home remains beautiful and well-protected. Regular cleaning not only enhances your home’s appearance but also extends the life of your siding.
If you have any questions, don’t hesitate to contact us. We’re here to help and guide you through every step of the process.


