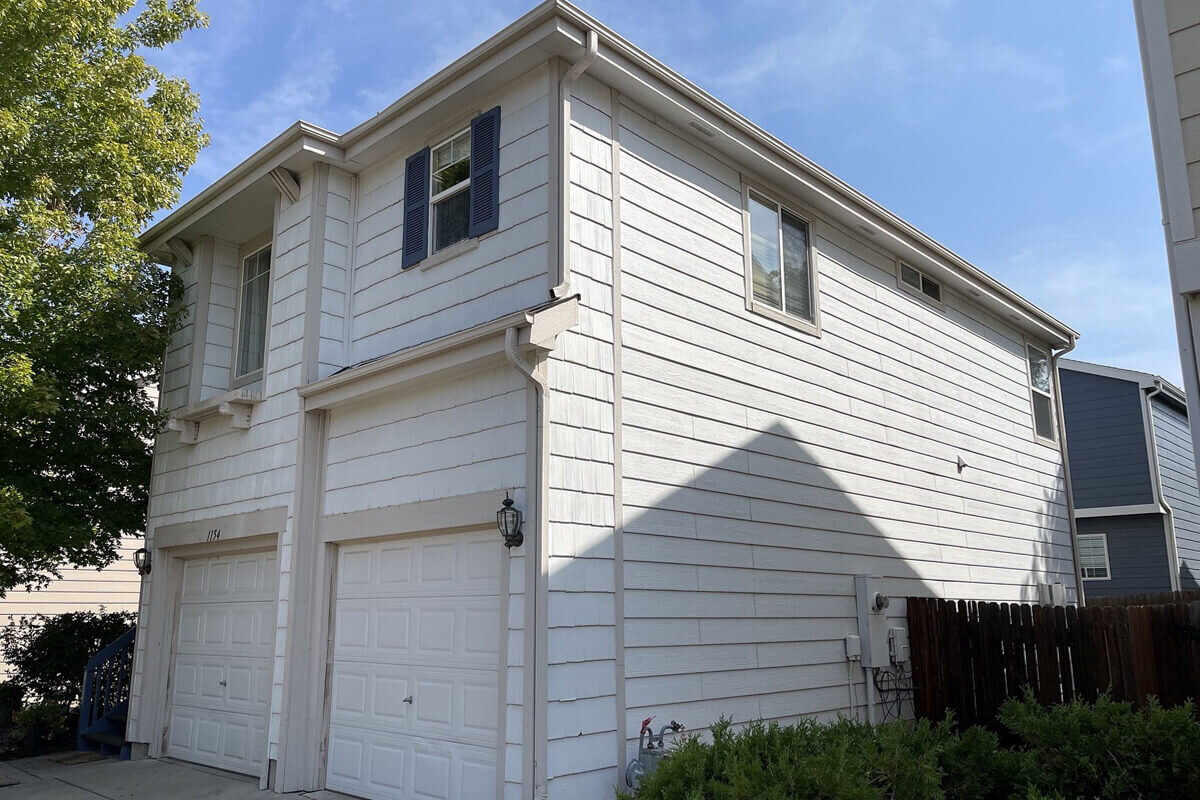
Vinyl siding is a durable and cost-effective solution for protecting your home’s exterior from the elements. However, it’s not immune to damage. Whether from hail, errant baseballs, or general wear and tear, holes in vinyl siding can occur. Repairing these holes promptly is essential to prevent more severe issues like water damage or insulation problems. This guide will walk you through the steps to effectively repair holes in vinyl siding, ensuring your home remains beautiful and structurally sound.
Understanding the Damage: Assess Your Siding
Identify the Extent of the Damage
Before you begin the repair process, it’s crucial to understand the size and depth of the hole in your siding. Small punctures may only require a simple patch, while larger breaches might need a section replacement. Take this time to inspect surrounding areas for further damage that might have gone unnoticed.
Why Immediate Repair is Necessary
Ignoring a hole in your vinyl siding can lead to moisture penetrating the underlayment, which breeds mold and rot. This can compromise the structural integrity of your walls and significantly increase repair costs in the future.
Preparing for the Repair
Gather Your Materials
You will need the following tools and materials to effectively repair holes in your vinyl siding:
- Vinyl siding patch or extra siding piece
- High-quality caulk or exterior-grade adhesive
- Utility knife
- Standard or vinyl siding removal tool
- Clean cloth
- Sandpaper (optional)
Ensure a Clean Workspace
Clean the damaged area with a soft cloth and mild detergent to remove any dirt and debris. If the edges of the hole are jagged, lightly sand them down to create a smooth surface that will adhere better to the patching material.
Step-by-Step Repair Instructions
Patch Small Holes
- Cut the Patch: Measure and cut a piece of vinyl siding slightly larger than the hole. It’s important to ensure that the pattern and color match your existing siding for a seamless look.
- Apply Adhesive: Use a high-grade exterior adhesive to apply on the back of the patch. Carefully align the patch over the hole, making sure it’s flat and even.
- Secure and Seal: Press firmly to adhere the patch to the siding. Seal around the edges with color-matched caulk to prevent moisture from entering.
Replace Larger Sections
- Remove Damaged Section: Use a siding removal tool to unhook the damaged piece from the surrounding siding carefully.
- Measure and Cut New Siding: Measure the removed section and cut a new piece to fit. Be sure to match the profile and color to maintain uniformity.
- Install New Section: Hook the new piece into place, starting from the bottom and working your way up. Ensure it snaps securely with the adjacent pieces.
Finishing Touches: Ensuring Longevity
After the repair, inspect your work to ensure there are no gaps or loose ends. It might be beneficial to inspect your entire home’s siding annually for any signs of wear or damage, keeping it looking great and functioning well.
In Summary
Repairing holes in vinyl siding is an essential task that not only restores the aesthetic appeal of your home but also prevents further structural damage. Equipped with the right tools and knowledge, you can confidently address this issue, ensuring that your siding continues to protect and beautify your home for many years.
If you ever encounter a repair that seems beyond your skill level, don’t hesitate to contact us. Our team is ready to assist you with any siding needs, ensuring your home remains in top condition. Remember, taking proactive steps to maintain and repair holes in vinyl siding not only safeguards your home but also enhances its overall value.


